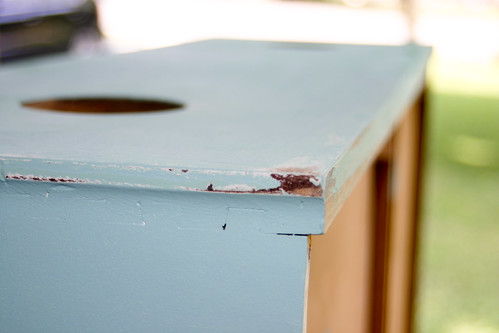
Forgive me as I was new to this blogging, before & after thing when I did these and did not remember to take the before picture until after I had sanded the fronts of the drawers! However, this is what I can show you.
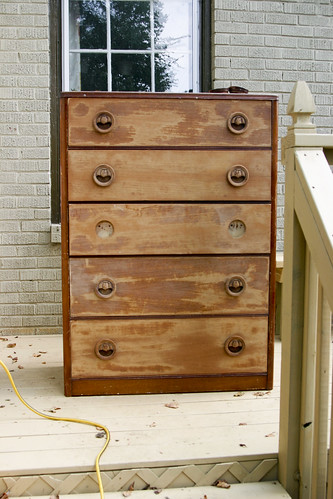
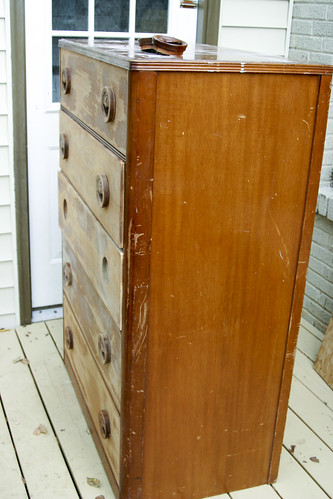
Yuck! :)
The first step was to take a medium grit sand paper and palm sander and take the old finish off of them. I have heard of people just "roughing up" the varnish and using a primer meant for finished surfaces, but I just don't trust it! I really want to try it and find that it works, but I'm afraid of putting that much work into it and then finding that all the paint chips or scraps off. I've had it happen to other projects (though I didn't use the special primer) and it just makes me nervous! So I sand. :)
I followed the medium grit sandpaper with a quick once over with a fine grit sandpaper. Once completed, I vacuumed off all the dust and wiped it down with a damp cloth to ensure that all the dust was gone.
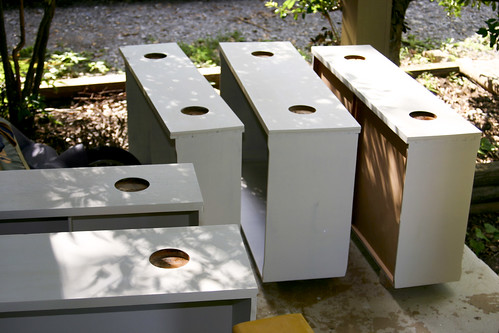
Ideally, I would have sprayed these with a spray gun and air compressor, but as most of us don't have those available to us I used a smaller foam roller instead. :) The foam roller is better suited for this application than a big fluffy polyester roller. It gives a smoother finish and because of it's smaller size, is easier to maneuver on furniture.
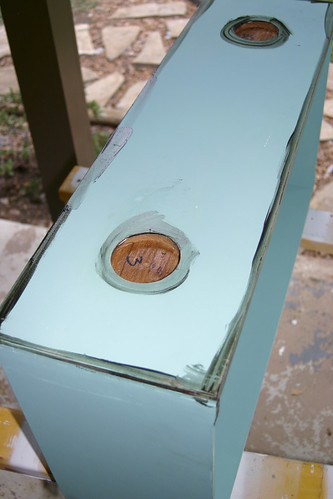
I started with a base coat of white paint in Glacial Tint (Behr). I gave it to coats of this. When I sanded it down to give it an antique or distressed look, I wanted the "older" paint to show through.

Once that was fully dry, I gave it two or three coats of my turquiose paint. Here I used Winter Surf (Behr).
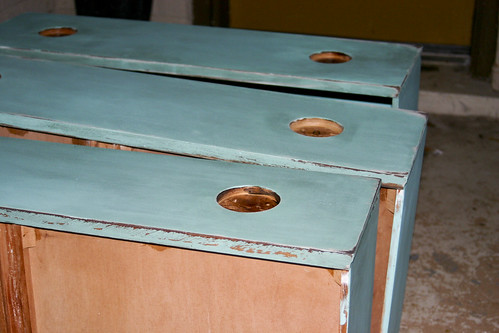
Once the blue paint was absolutely, completely dry, I took back out the sand paper, without the palm sander this time, and sanded down the paint in select areas.
My goal was to make it look like it had worn naturally, so I concentrated on areas that would typically see a lot of wear. Namely, any edges & corners, around the handles, and where the drawers fit into the dresser.


Once I was satisfied with how worn down I made it, I wanted to take it a step further by using an antiquing glaze. I found mine from Lowe's Valspar line.

Be sure to follow the instructions on your glaze. Not sure if they all work exactly the same. I found that it was easier to use if I applied it inside as it was able to stay wet longer, but I did do most of the parts outside.
Using an old cloth, I first applied the glaze to the areas I wanted the darkest. Again, it was also the areas that would see the most wear.
Then, working quickly, I rubbed it over the entire surface. With a new clean cloth, I then wiped it off, working in circular motions, until it was at the darkness I was going for. At times, I would have to add more on to either get it darker, or get the area wet enough to manipulate and rub off.
I finished the dressers by applying a water based polyurethane with a spray gun. We finally broke out my mother-in-law's at the end! :) I'm really glad we did because it allowed me to apply the poly thinly as it can yellow if put on too thickly. Plus, it kept any brush strokes from showing.
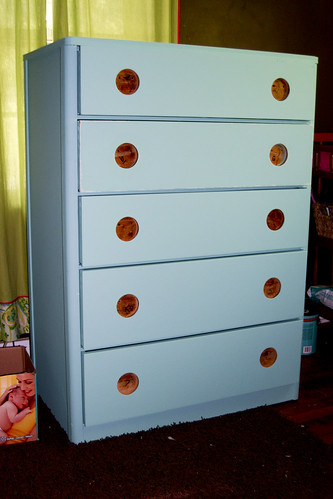
And ta-da!!! All done!!
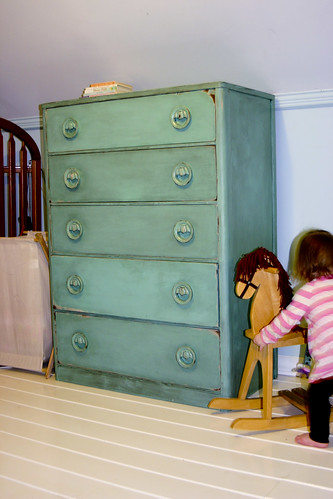
One (or two, in this case!!) newly beautified dresser for your enjoyment! And best of all? It was cheap and you did it yourself!! That's always a nice feeling! :)
xoxo Lori Danelle
I have just learnt so much from you. Thanks for the tips. The dressers look great!
ReplyDeleteYour tips are AMAZING. Seriously - so helpful. When I finally get to that antique desk that's waiting in my hallway I will be coming back to this post!
ReplyDeleteI want so badly to try something like this. You did such an incredible job!
ReplyDeleteWow, what a great tutorial! Thank you for sharing this! It looks fantastic.
ReplyDelete